


Table of Contents
A sales deck is a visual presentation often created in PowerPoint or similar software that supports your sales pitch by highlighting your product or service's value proposition.
It typically includes slides that:
- Identify a problem
- Present a solution
- Showcase social proof
- End with a call-to-action (CTA)
The primary goal of a sales deck is to supplement your verbal pitch and inspire the lead to take the next step toward making a purchase.
Whether you're presenting in person, using videoconferencing, or sending the deck to a prospect for review, you should carefully curate the content and structure of your sales deck to cater to your audience. Here’s how…
Step 1: Study Your Prospect and Their Requirements
First, understand your audience. This involves researching your prospects' pain points, goals, and industry trends. Here are some tips to go about it:
1. Leverage Current Customer Insights
- Analyze Existing Customer Data: Review the data from your current clients to identify trends or common issues they face.
- Understand how your solution has helped them overcome these challenges.
- Look for patterns that also apply to your prospect.
- Gather Direct Feedback: Contact your existing customers and ask them about their experiences.
- What were their pain points before using your solution?
- How did your product or service help them achieve their goals?
Use these insights to frame your narrative.
2. Engage in Pre-Meeting Discovery
- Conduct a Discovery Call: Set up a call with your prospect before your presentation. Use this opportunity to ask open-ended questions about their business, industry challenges, and specific needs.
- Personalize: Use the insights gained from your discovery call to customize your presentation. Highlight the most relevant areas to their business and address any concerns or challenges they mentioned.
3. Review Customer Profiles and Buyer Personas
- Update Buyer Personas: If you’ve already created detailed buyer personas, revisit them to ensure they align with your current prospect. In B2B, decision-makers often have specific concerns like:
- ROI
- Scalability
- Integration capabilities
Make sure your presentation addresses these points.
- Match the Persona to the Prospect: Tailor your messaging to fit the decision-maker’s persona. Whether they’re focused on financial outcomes, operational efficiency, or technological innovation, your sales deck should speak directly to what matters most to them.
Step 2: Gather Essential Information
Next, focus on gathering the correct information that resonates with your prospective client. Your deck's effectiveness hinges on its ability to address specific business challenges, showcase clear benefits, and build trust through evidence-backed proof.
Here's how to ensure your sales deck hits the mark:
Pinpoint Your Product’s 2-4 Key Advantages
In B2B sales, prospective clients often seek solutions that drive efficiency, reduce costs, or offer a competitive advantage.
Narrow down the three most significant benefits your product or service offers.
These should directly align with the pain points of your target businesses. Highlight how your solution will help their business thrive, such as increasing revenue, improving operational efficiency, or enhancing customer satisfaction.
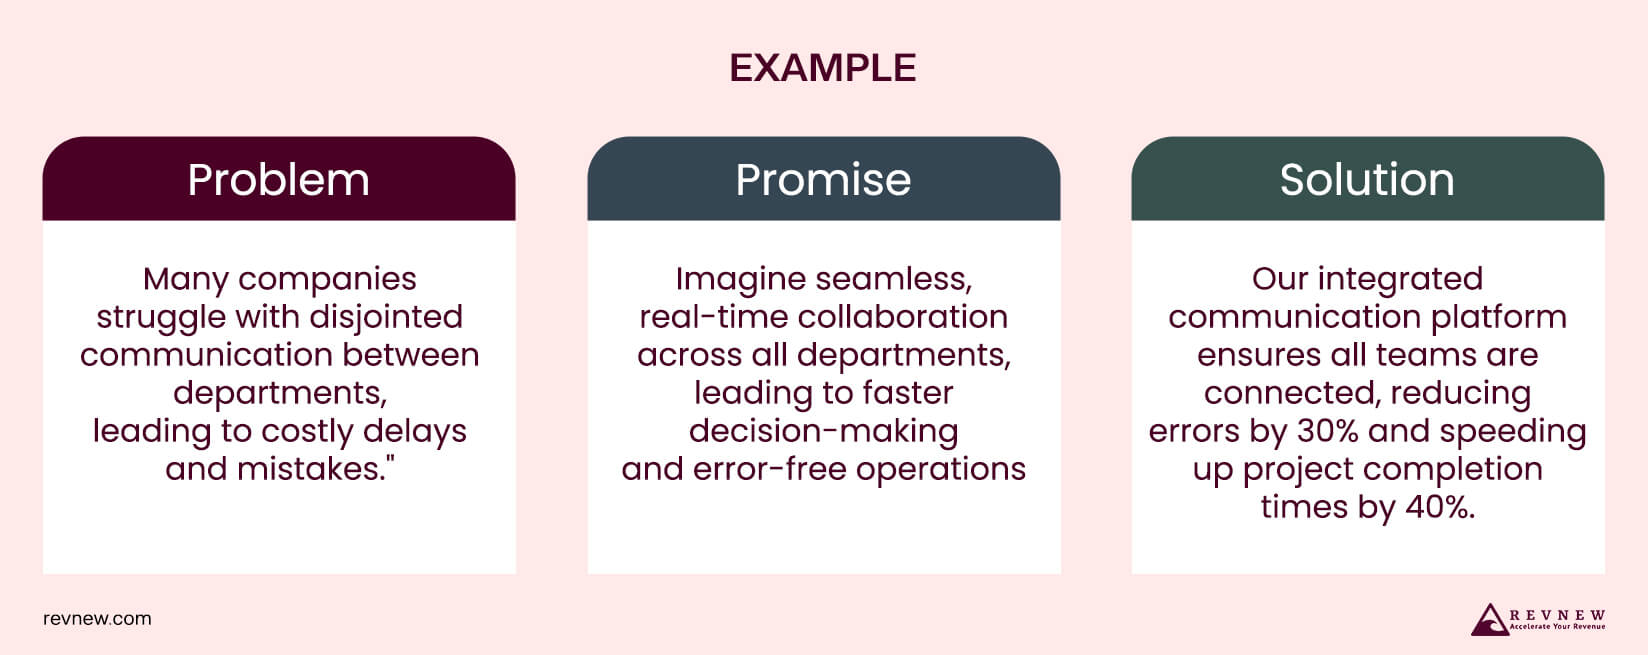
Example:

Develop a Problem/Solution Narrative
Start by identifying the main problem your target audience is experiencing. Then, promise an ideal scenario in which this problem no longer exists. Finally, introduce your solution as the bridge to this better state.
Example:
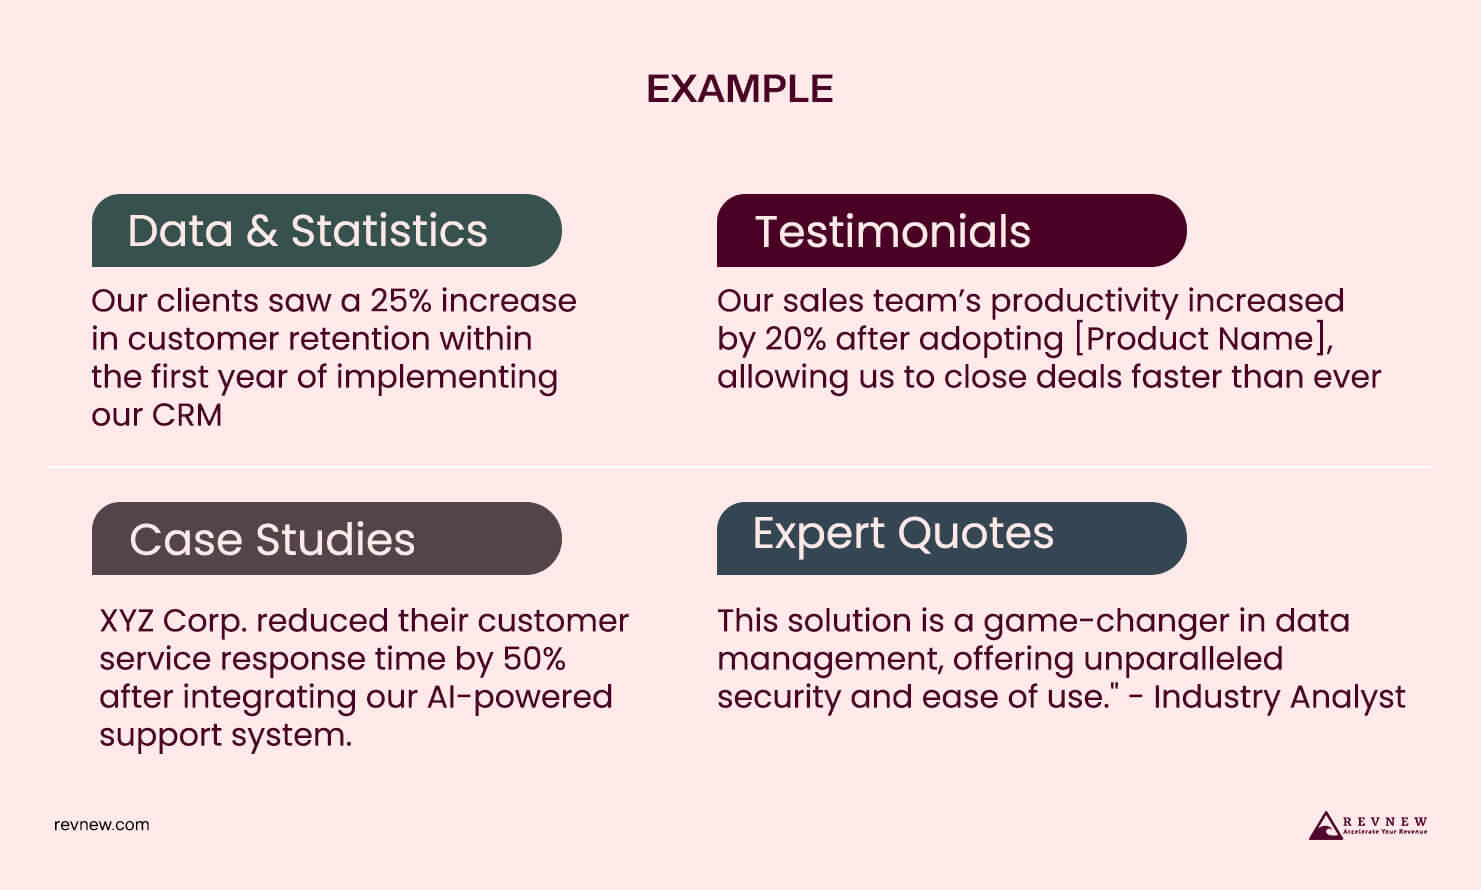
Collect Compelling Proof Points
Gather data, testimonials, case studies, and expert endorsements that validate your claims. These should be specific to industries similar to your prospects and demonstrate clear, measurable outcomes.
Example:
Step 3: Design Your Deck
After gathering all the essential insights, benefits, and proof, it's time to bring your sales deck to life. This deck will be your pitch's visual and narrative backbone, guiding your prospects through a compelling story that resonates with their business needs.
Here’s how to create a sales deck that stands out and drives results:
Keep It Focused and Clear
When assembling your deck, aim for clarity and brevity.
- If you send the deck to prospects, keep each slide under 50 words.
- Reduce it to 20 words per slide for live presentations, and use a large font size.
This approach forces you to distill your message to its core, making it easier for your audience to digest and remember. By not reading directly from the slides, you’ll come across as knowledgeable and confident.
Leverage Visuals to Tell Your Story
Visual elements can significantly enhance your message.
- Use charts and graphs to present data or showcase trends.
- Flowcharts are handy for illustrating complex processes.
- Icons or graphics can emphasize key points.
For example, to make a slide highlighting a financial benefit more visually engaging, use a dollar sign icon next to it. Visuals make your slides more appealing and help break down complex information.
Maintain a Single Focus Per Slide
Each slide should convey one main idea. Start with a concise, impactful headline — for example, "The Problem at Hand" — and then use the space below to explain the issue briefly.
This approach creates a natural rhythm and keeps your audience engaged, as they aren’t overwhelmed with too much information at once.
Personalize the Deck for Your Prospect
Tailoring your deck to your prospect's needs can make a significant difference. Customize the cover slide with their company name and logo, mention their particular challenges, and highlight how your solution addresses them.
Including real-world use cases that align with their industry or business can also help them see the practical benefits of your solution.
Consider Using a Sales Deck Template
Sales deck templates can be a valuable starting point. These pre-designed slideshows can be easily customized with your content, making the creation process faster and more efficient.
While templates provide structure, ensure you personalize them by replacing placeholder text and images with your own.
Keep the deck concise, ideally within 12 slides, to respect your prospect’s time while delivering a powerful, focused message.
Pro Tip
Segment your deck into the following sections for a sequential flow:.
- Cover Slide: Start strong with a personalized cover slide that grabs attention.
- Problem Slide: Clearly define the problem your prospect is facing.
- Solution Slide: Present your solution and how it specifically addresses their needs.
- Social Proof Slide: Build credibility using testimonials, case studies, and data.
- Call to Action Slide: End with a clear call to action, guiding your prospect on the next steps.
Sales Deck Template
Here’s a streamlined template that aligns with the tips provided above. It will guide you through creating a compelling, focused, and personalized sales deck
Slide 1: Cover Slide
- Title: Your Solution for [Prospect’s Company Name]
- Subtitle: Solving [Prospect’s Key Challenge] with [Your Product/Service]
- Visual: Include [Prospect’s Company Logo] + [Your Company Logo]
Slide 2: Introduction
- Title: Meet [Your Company Name]
- Text: A brief introduction to your company (max 30 words).
- Visual: High-quality image or graphic that represents your brand or product.
Slide 3: The Problem
- Title: The Problem at Hand
- Text: Describe the specific problem or challenge the prospect is facing.
- Visual: An icon or simple graphic representing the problem.
Slide 4: The Impact of the Problem
- Title: Why This Problem Matters
- Text: Explain the negative impact of the problem on the prospect's business (e.g., lost revenue, inefficiencies, etc.).
- Visual: A chart or graph illustrating the consequences.
Slide 5: The Promise
- Title: Imagine the Possibilities
- Text: Paint a picture of the ideal state once the problem is solved.
- Visual: Use aspirational imagery that aligns with the prospect’s goals.
Slide 6: Your Solution
- Title: How [Your Product/Service] Solves the Problem
- Text: List the three key benefits of your product/service that directly address the prospect’s problem.
- Visual: Use a flowchart or infographic to represent the solution visually.
Slide 7: Social Proof
- Title: Trusted by Industry Leaders
- Text: Briefly introduce customer testimonials or case studies demonstrating your solution's effectiveness.
- Visual: Include logos, short quotes, or statistics from satisfied clients.
Slide 8: Case Study Summary
- Title: Success with [A Similar Client]
- Text: Provide a brief overview of a case study, focusing on the problem, solution, and positive results.
- Visual: A before-and-after graphic or key metrics that highlight the impact.
Slide 9: The ROI
- Title: What You Gain with [Your Product/Service]
- Text: Highlight the financial or operational benefits the prospect can expect.
- Visual: A cost-benefit analysis or ROI calculation in a simple table or chart.
Slide 10: Next Steps (Call to Action)
- Title: Ready to Get Started?
- Text: Clearly outline the following steps (e.g., schedule a follow-up meeting, sign up for a demo, etc.).
- Visual: A CTA button or arrow pointing towards a positive action.
Key Takeaway
This template provides a solid foundation for creating an informative and persuasive sales deck for B2B engagements. Customize each slide with your content and tailor it to your prospect's unique needs to maximize its impact.


